Everyone needs a monitor system, right?
Disclaimer or Scope/Intention
This is how I did it. Short guide, more or less for myself so I won’t forget.
If Linux/Ubuntu/Apache/SSL-certs is new territory for you this isn’t the guide you were looking for, sorry. Some steps and detailed explanations are omitted.
Also never run cmds you don’t trust and know what they do.
What I used
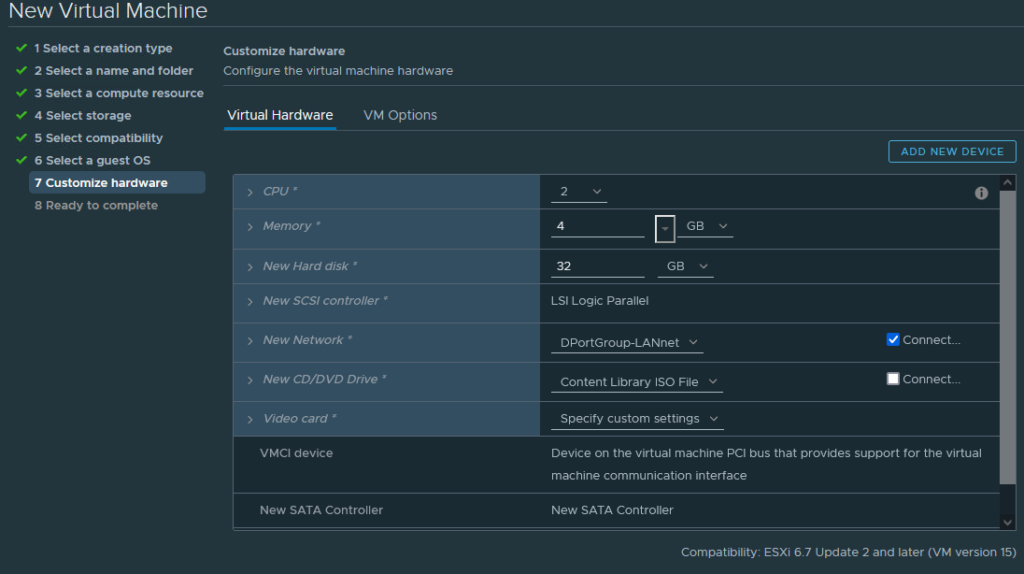
Machine: VM in Vmware vSphere, 2vCPU, 4GB RAM, 32GB disk.
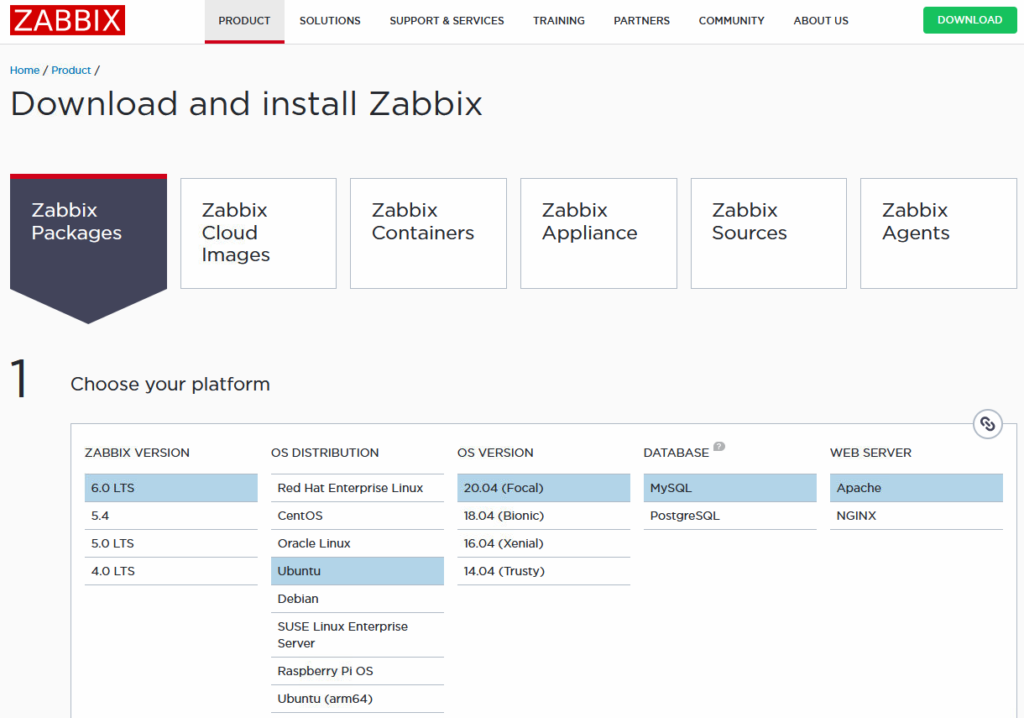
OS: Ubuntu Server 20.04 LTS Free OpenSource (https://ubuntu.com/download/server)
WebApp: Zabbix 6.0 Free OpenSource (https://zabbix.com)
SSL cert: I used Let’s Encrypt for my cert and key.
Preparation
I downloaded the software from Ubuntu. Spun up a small VM and installed Ubuntu Server on it. Performed some housekeeping on the machine.

Step 1: Install LAMP Stack (Linux, Apache, MySQL, and PHP)
On the newly setup Ubuntu machine install LAMP Stack and some extra pieces.
sudo apt install tasksel
sudo tasksel install lamp-server
sudo apt install php-curl php-gd php-mbstring php-xml php-xmlrpc
sudo apt install php-imap
sudo phpenmod imap
Step 2: Follow instructions on Zabbix homepage.

Just a headsup, the step “zcat /usr/share/doc/zabbix-sql-scripts/mysql/server.sql.gz | mysql -uzabbix -p zabbix“. Will take a long time with low resource utilization, be patient.
Step 3: Done, ish.
Now it’s installed. Enter the FQDN or ip-adress + /zabbix in a web-browser.

More info, https://www.zabbix.com/documentation/6.0/en/manual/quickstart/login
Optional to continue. Next steps will add SSL/https and force that.
Step 4: Remove /zabbix/ from URL
Configure Apache conf for website (this removes “zabbix” from the end of the URL), optional.
sudo nano /etc/apache2/conf-enabled/zabbix.confComment the three lines at the top regarding alias.
Ctr+X, Y, Enter
sudo cd /etc/apache2/sites-available
sudo nano example.com.conf
Paste into editor:
<VirtualHost *:80>
    ServerAdmin [email protected]
    ServerName example.com
    ServerAlias www.example.com
    DocumentRoot /usr/share/zabbix
    ErrorLog ${APACHE_LOG_DIR}/error.log
    CustomLog ${APACHE_LOG_DIR}/access.log combined
</VirtualHost>
Then activate the site.
sudo a2dissite 000-default.conf
sudo a2ensite example.com.conf
sudo systemctl reload apache2
Step 5: Get SSL cert and key
All websites should use https now when there’s free and easy services like Let’s Encrypt (https://letsencrypt.org) or Cloudflare (https://cloudflare.com). There are good guides on their webpages and also a lot of specific howtos to find elsewhere. This is out of scope for this guide.
Get your cert and key from source of your choosing.
Step 6: Copy Cert and Key to Server
Create a new directory where your Cert and Key will reside.
sudo mkdir -p /etc/letsencrypt/Using nano text editor, create a new file example.com.pem (where example.com is your own domain).
sudo nano /etc/letsencrypt/example.com.pemNow paste in your Origin Certificate. Save file and exit. (Press CTRL + X, press Y and then press ENTER).
Create a new file example.com.key (where example.com is your own domain).
sudo nano /etc/letsencrypt/example.com.keyPaste in your Private Key. Save file and exit. (Press CTRL + X, press Y and then press ENTER).
Step 7: Configure Apache for https
Firstly, make sure you have the SSL module enabled for Apache by running:
sudo a2enmod sslOpen the Apache configuration file for your domain.
sudo nano /etc/apache2/sites-available/example.com.confYou need to add a new block underneath for SSL port 443. You can also add a rewrite condition in your port 80 block to redirect all requests to https. Paste example and modify for your domain.
<VirtualHost *:80>
    ServerAdmin [email protected]
    ServerName example.com
    ServerAlias www.example.com
    DocumentRoot /usr/share/zabbix
    ErrorLog ${APACHE_LOG_DIR}/error.log
    CustomLog ${APACHE_LOG_DIR}/access.log combined

    ReWriteEngine on
    ReWriteCond %{SERVER_NAME} =example.com
    ReWriteRule ^ https://%{SERVER_NAME}%{REQUEST_URI} [END,NE,R=permanent]

</VirtualHost>
<VirtualHost *:443>

    ServerAdmin [email protected]
    ServerName example.com
    ServerAlias www.example.com
    DocumentRoot /usr/share/zabbix
    ErrorLog ${APACHE_LOG_DIR}/error.log
    CustomLog ${APACHE_LOG_DIR}/access.log combined

    SSLEngine on
    SSLCertificateFile /etc/letsencrypt/example.com.pem
    SSLCertificateKeyFile /etc/letsencrypt/example.com.key

</VirtualHost>
Save file and exit. (Press CTRL + X, press Y and then press ENTER).
Enable the RewriteEngine.
sudo a2enmod rewriteTest the configuration syntax for errors.
sudo apachectl configtestYou can ignore any errors that say Could not reliably determine the server’s fully qualified domain name.
If you see Syntax OK, restart Apache.
sudo systemctl restart apache2Done. Now you have your own monitoring system.