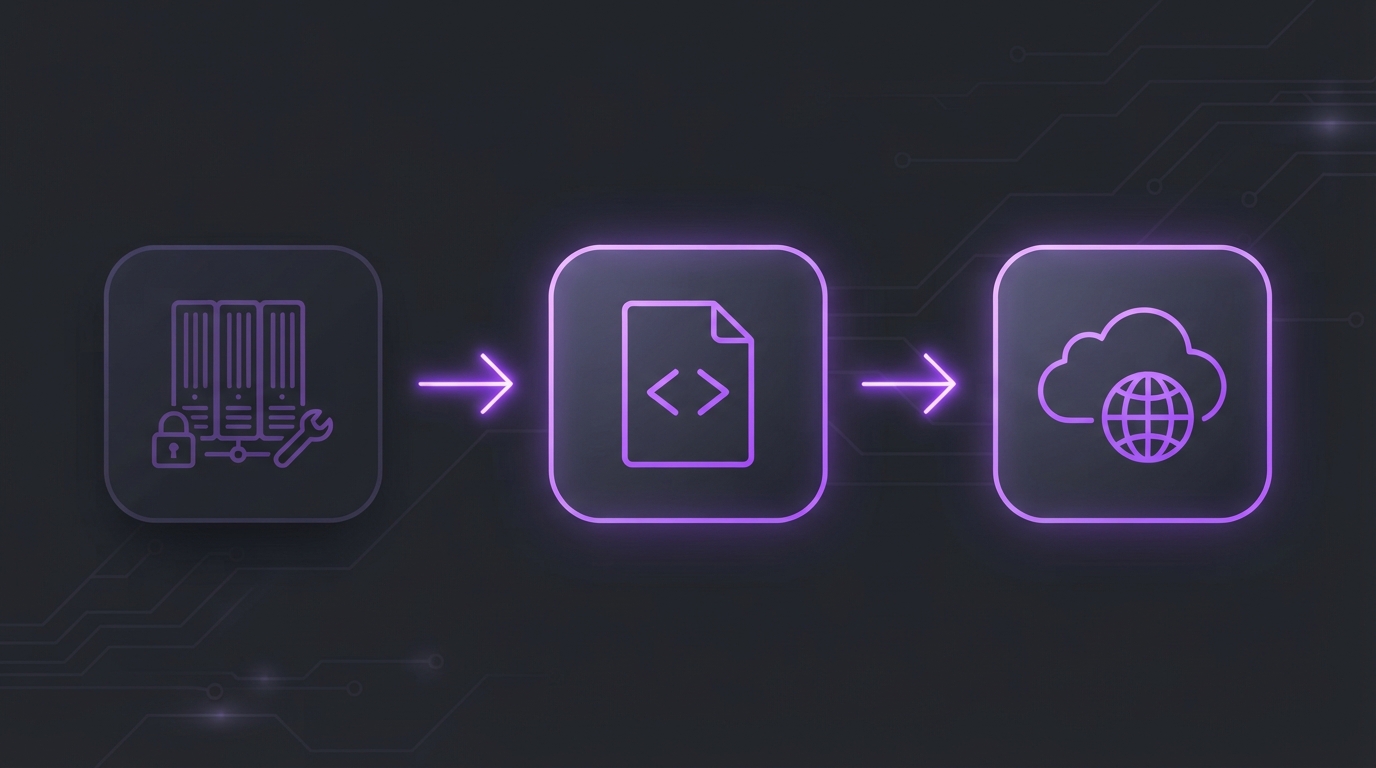
Since 2020 tillnet.se ran on WordPress, on a LAMP VM we set up ourselves in Google Cloud with Cloudflare in front. It was a good place to learn and test things. But a server that mostly serves a few dozen posts still has to be patched, watched and kept safe, and that work never ends. So we moved the whole site to a static Hugo site hosted on Cloudflare. This post covers why, and how you can do the same.
No server to patch, no login page to attack, and every old link still works.
Why we left WordPress
Upkeep of the VM. A self-hosted WordPress means looking after the whole stack: the OS, Apache, PHP, MySQL, WordPress core, the theme and every plugin. Each one gets updates, and each update can break something. For a site that changes a few times a year, the maintenance was far bigger than the content.
Security surface. WordPress runs a huge share of the web, which makes it the obvious target for automated attacks, and ours got its share. There was a login page, an XML-RPC endpoint, PHP and plugins all open to the world. Every one of them needs to be patched in time, forever. A static site has nothing to log in to and no code running on the server, so most of those attacks simply have nothing to hit.
Why Hugo
There are many static site generators. Hugo won for one simple reason: it is a single binary. One winget install, and that is the whole toolchain. No Node.js, Ruby or Python versions to keep alive, no node_modules that falls apart after a year. A full build of the site, including resizing every image, takes a few seconds.
Posts are Markdown files in git. They are written in an editor, previewed locally with hugo server, and versioned like any other code.
For the look we chose the PaperMod theme: clean, fast, dark mode, search, and nothing we had to build ourselves.
Why Cloudflare
It was already there. DNS and the proxy for tillnet.se have been on Cloudflare since the WordPress site went up in 2020. Hosting the site there too meant no DNS move and no new vendor.
Free, with deploy on git push. The site runs as a Cloudflare Worker with static assets, which is what Cloudflare recommends for new projects. Workers Builds watches the GitHub repo: push to main and the new version is live in about a minute. The free tier covers a site like ours with lots of room to spare. A small Worker script also handles all the old WordPress redirects, so nothing extra had to be set up for that.
Doing it yourself: the checklist
This is the order that worked for us. Steps 1 to 6 happen while WordPress is still live, so you can take your time.
1. Export everything from WordPress
- Tools > Export > All content gives you a WXR file (WordPress XML) with posts, pages, categories, tags and dates.
- Copy the media library (
wp-content/uploads) too. The export only holds links to the images, not the files themselves. - Make a note of anything outside WordPress that points at files on the server. In our case that was the BIMI logo used for email, which lived under
wp-content/. It had to be copied over to the same path, or email logos would have broken at cutover.
2. Convert the content
We wrote a PowerShell converter that reads the WXR file and writes one Hugo page bundle (a folder with index.md plus its images) per post. Whatever tool you use, check that it handles these points:
- Keep the slugs and dates. We kept every WordPress slug as
/posts/<slug>/and every original publish date, including the time zone. - Use the original images. WordPress makes resized copies; take the originals from the media library instead (we downscaled anything over 2048 px).
- Code blocks must survive exactly. HTML entities,
<br>inside inline code and smart quotes are where conversions go wrong. We compared every code block against the source, character by character. - Flatten the WordPress-specific blocks. Galleries, media-and-text blocks and YouTube embeds became plain images and links.
- Dry run first. Ours supports
-WhatIfand writes a report of everything it was unsure about, so you review findings instead of reading 30 posts by eye.
.\tools\Convert-WxrToHugo.ps1 -MediaPath "$HOME\Downloads\media" -ExcludeId 8,30,41 -WhatIf
3. Pick a theme and pin it
Add the theme as a git submodule and pin it to a commit you have tested. The last tagged PaperMod release did not build on the current Hugo version, so we pinned a known-good commit from the main branch. Also pin the Hugo version itself (see step 5); a theme and a Hugo version that work together today might not next year.
4. Map every old URL to a new one
This is the step that keeps your search ranking and every link other people have posted. WordPress serves the same post under several URLs, and all of them need a redirect:
/?p=123and/?page_id=6/2021/05/14/my-post/(date-based permalinks)/index.php/2021/05/14/my-post//category/it/and/?cat=6/feed/and/?feed=rss2for RSS readers
Our converter writes them all to a CSV, with a second hand-kept CSV for extras:
old_url,new_url,status
/?page_id=6,/about/,301
/feed/,/index.xml,301
A small Worker script reads both files and answers with a 301. To keep it cheap, the Worker only runs for the old URL patterns. Everything else is served straight from the static assets:
"assets": {
  "directory": "./public",
  "not_found_handling": "404-page",
  "run_worker_first": [
    "/",
    "/index.php/*",
    "/category/*",
    "/2021/*"
  ]
}
5. Set up the Cloudflare build
In the Workers dashboard, connect the GitHub repo and use:
| Setting | Value |
|---|---|
| Build command | git submodule update --init --recursive && hugo --minify |
| Deploy command | npx wrangler deploy |
| Build variable | HUGO_VERSION = your local Hugo version |
Two things that cost us time:
HUGO_VERSIONmust be a build variable, not a runtime variable. Otherwise the build image uses its own, older Hugo, and your site may not build at all.- The build command updates the submodules itself, so the theme is always there.
6. Preview without getting indexed
Before cutover, the site lives on a *.workers.dev address. Set two more build variables there:
HUGO_BASEURL= the workers.dev URL, so links stay on the preview.HUGO_ENVIRONMENT=preview, so the site sendsnoindexandrobots.txtblocks crawlers. You do not want Google to find a second copy of your site.
Now click through everything, and test your redirect list against the preview. We had 133 redirects and checked them all with a script, not by hand.
7. Cut over
- Remove
HUGO_BASEURLandHUGO_ENVIRONMENT, and rebuild. - Attach your domain to the Worker in Cloudflare.
- Turn off the
workers.devaddress ("workers_dev": falseinwrangler.jsonc), so the site exists in only one place. - Add a Cloudflare Redirect Rule from
wwwto the bare domain. The Worker matches paths, not host names, so this one belongs in the dashboard. - Run your redirect test again, this time against the live domain.
8. After the move
- Submit the new
sitemap.xmlin Google Search Console. - Watch for 404s for a week or two and add redirects for anything you missed.
- Then take a final backup of the WordPress VM and shut it down.
Built with an AI assistant
We did this migration together with Claude Code, Anthropic’s coding assistant. It wrote the converter, the redirect Worker and the config, and did the tedious checks: comparing every code block with the source, testing every redirect. We made the decisions and reviewed the results. It worked best exactly the way this post describes: small steps, a dry run first, and a check after every step.
The new site costs nothing extra to host and has nothing left to patch. If you run a small WordPress site that mostly holds posts, it is worth a weekend.